Hello everyone hope you've had a wonderful weekend. The weather has been kind to us here in the UK and it stayed dry for the Walk of Hope stroll around Tatton Park yesterday for The Christie Hospital -you can see a pic here
Today I've been playing with some floral stamps from Oak House Studio. The stamp is part of the Big Christmas collection and is proving to be one of my favourites - there is a positive and negative so great for creating different textures. All the products I've used in this tutorial are available from Oak House Studio (ribbon and gems are from my stash).
I've made a step by step tutorial if you fancy having a go at making these tags.
So here goes -
1. Gather all your ingredients.
2. Apply spray inks in your colour choice - I've used citrus orange, totally turquoise and regal claret. Randomly stamp the text with black ink and add ink around the edge of the tag with the sea blue ink pad - just run the ink pad directly onto the edge using a gentle stroke. Put to one side.
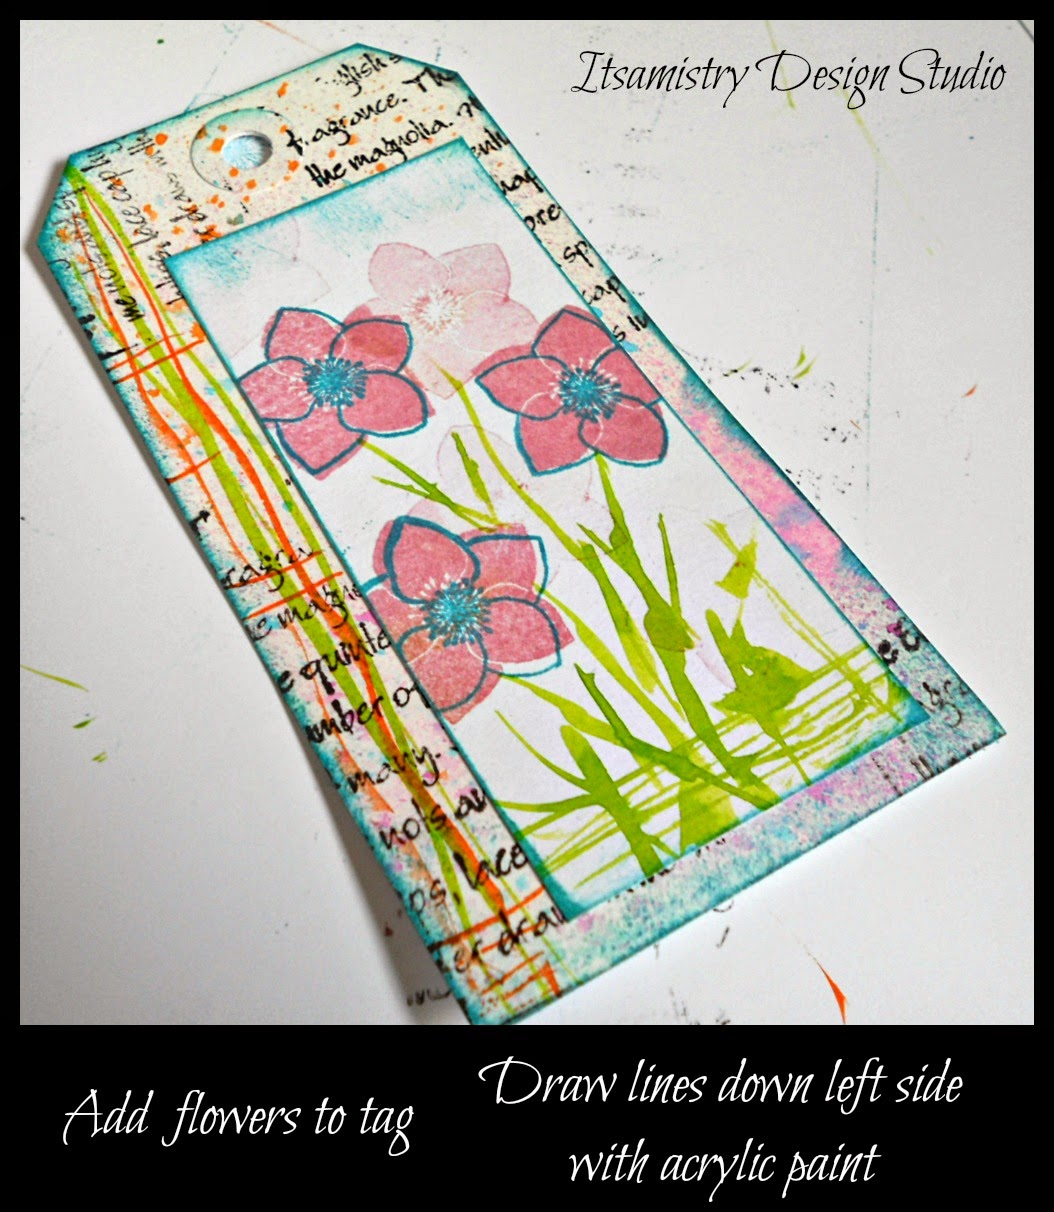
3. Cut a piece of card which is smaller than the tag. Stamp the solid flower using the dusky pink ink pad and then the outline stamp with the sea blue. You'll notice that there are a few lighter solid flowers - I stamped these after the initial flowers had been stamped and there is usually a little bit of ink still on the stamp (no point wasting the ink right?). Add a border again using the sea blue ink pad as in the previous step.
4. Next we need to add the leaves. Here I've used the Oak House Studios acrylic inks and a nail art brush (which you can get from Poundland yep you read that right :) ) Dipping the brush lightly and making sure you don't have too much ink on the brush all you need to do is gently stroke the brush in the areas where you want grass/stems and leaves. You don't have to be too neat to do this.
5. Glue the smaller stamped card onto the tag (on this one I've glued it off center and to the right. I've added a few lines of acrylic ink along the left side of the tag using peridot and amber inks with the nail art brush.
6. I finished off the tags with some ribbon and gems which I added to the middle of the flowers.
Here are a couple of cards I made using the same flower stamp.
I hope you've enjoyed the tutorial - You can find the stamps here
and the ink pads, sprays and acrylic inks here
Happy Crafting
Anita